A finished sleeve or back piece costs multiple sessions and thousands of dollars, but most people lose more to placement they refuse to rethink than to the art itself.
The stage that breaks it is almost always visibility: the client who walked into a corporate interview with a fresh neck piece above her collar, watched the room shift, and later paid for removal that still left a ghost.
She never asked who would see it daily.
[link-whisper-related-posts]How to Choose Tattoo Placement
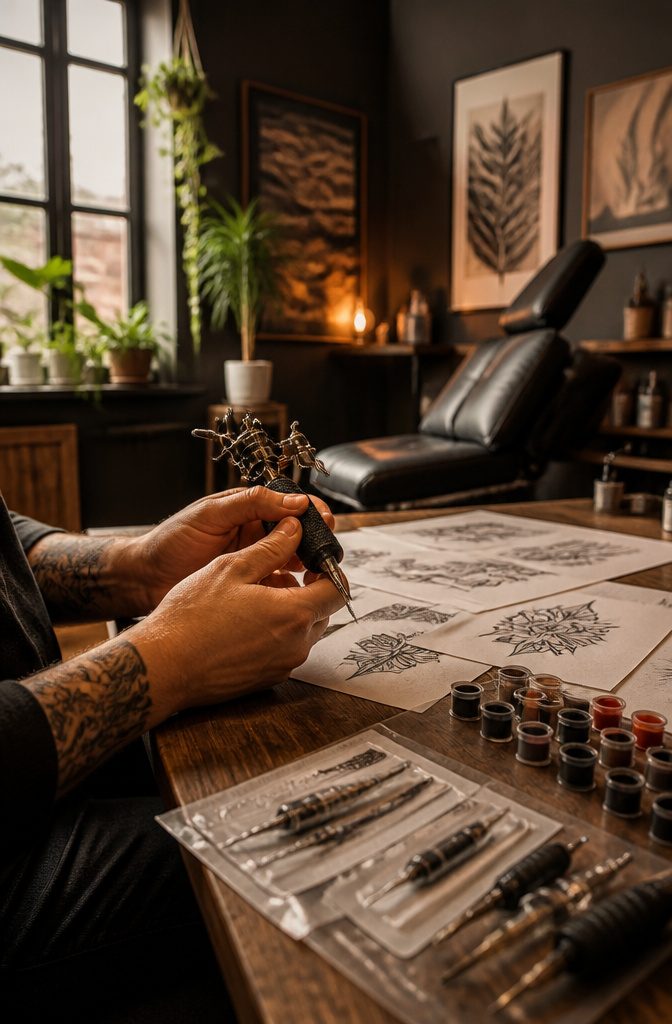
A tattoo placement planner is less a formal tool than a way of thinking through where a design will live for the next several decades.
The chair time is real, often stretching across multiple sessions, and the skin you sit in afterward has to carry the work through jobs, relationships, and the slow settling that happens to pigment over years.
Five factors shape the decision. Visibility comes first: whether you want the piece seen daily by others, kept private, or held in reserve for specific moments.
Design fit matters because a detailed realism piece needs uninterrupted skin real estate; cramming it onto a wrist sacrifices the shading and fine linework that make the style work.
Existing tattoos create boundaries or opportunities, depending on whether you are building a sleeve, filling gaps, or starting fresh on open skin.
Pain tolerance steers location more directly than most people admit upfront; ribs, ankles, and wrists sit over bone and nerve clusters that amplify the sensation, while the thigh, upper arm, or back offer more forgiving tissue for long sessions.
Artist input closes the loop, since the person holding the machine knows how skin in a given spot takes ink, ages, and holds detail over time.
These five steps, taken in order, keep the planning grounded in what actually happens in the chair rather than what looks ideal in a sketch.

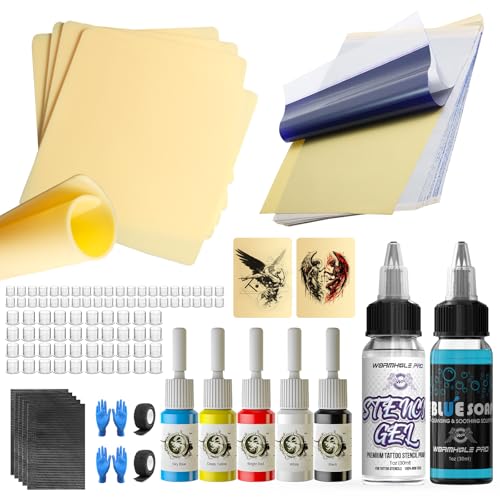
Complete Tattoo Training Kit – Includes 4pcs tattoo practice skin, 10pcs tattoo stencil papers, 1oz transfer gel, 1oz tattoo blue soap, tattoo ink, 80 ink caps, 5 disposable tablecloths, 2 grip tapes, 2 pairs of gloves – everything you need to practice tattooing safely and effectivelys

1. Set Your Visibility Level First
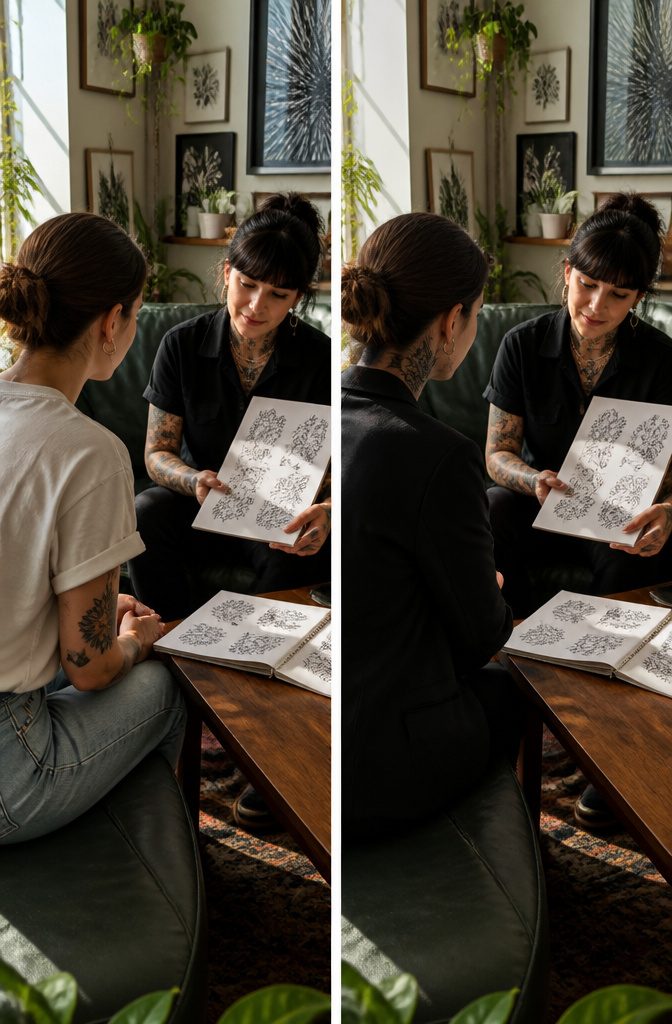
Some tattoos are meant for an audience, and others are meant for you alone. That distinction should settle where the ink goes before you ever pick a design.
A client I heard about walked into her first corporate interview with a fresh neck piece fully visible above her collar.
The hiring manager never said a word about it, but the energy in the room shifted, and she left knowing the job had slipped somewhere in that silence.
She later spent thousands on removal sessions that still left a ghost. The mistake wasn’t the art; it was skipping the step of asking who would see it and when.
Color realism especially demands an honest answer here.
A vivid sleeve or chest panel wants daylight, a t-shirt line, a beach afternoon. A deeply personal symbol, something that holds meaning only for you, can live on a rib cage or thigh and still do its job.
The rule is simple: decide your daily default.
If your workplace expects covered arms, a forearm piece becomes a morning calculation of long sleeves and concealer. If you want the option to hide it without wardrobe gymnastics, the back, upper arm, or hip keep that door open.
Visibility is not about shame or rebellion; it is about matching the tattoo to the life you actually lead, not the one you imagine on vacation.

Clean, Flawless Transfers: Your artwork will look so clean once transferred to the skin with the Stencil Stuff gel! Gentle on the skin, Stencil Stuff transfer solution helps you achieve clear and sharp tattoo stencil transfers every time!

🛡️ SAFE AND GENTLE FORMULA - Our tattoo goo is made from skin-friendly, plant-based ingredients that are non-toxic and non-irritating, ensuring gentle use on all skin types during stencil transfer.

Safe and Healthy: Our tattoo transfer gel meets strict safety and non-toxic material standards, non-irritating to the skin and vegan-friendly. Maintains client comfort while achieving clear tattoo stencil transfers.
2. Match the Design to the Real Estate
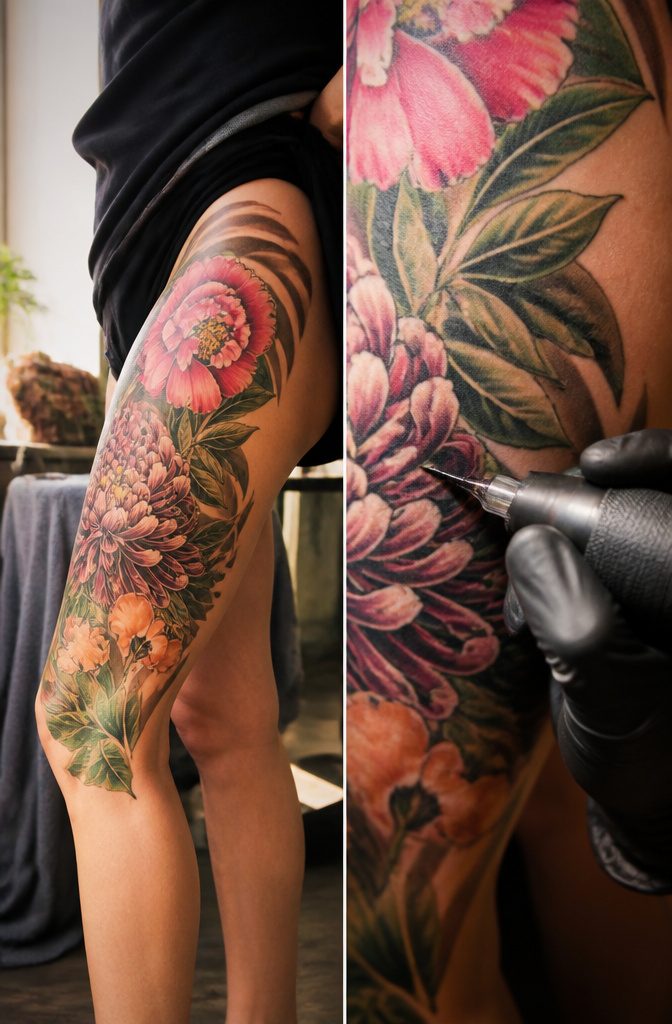
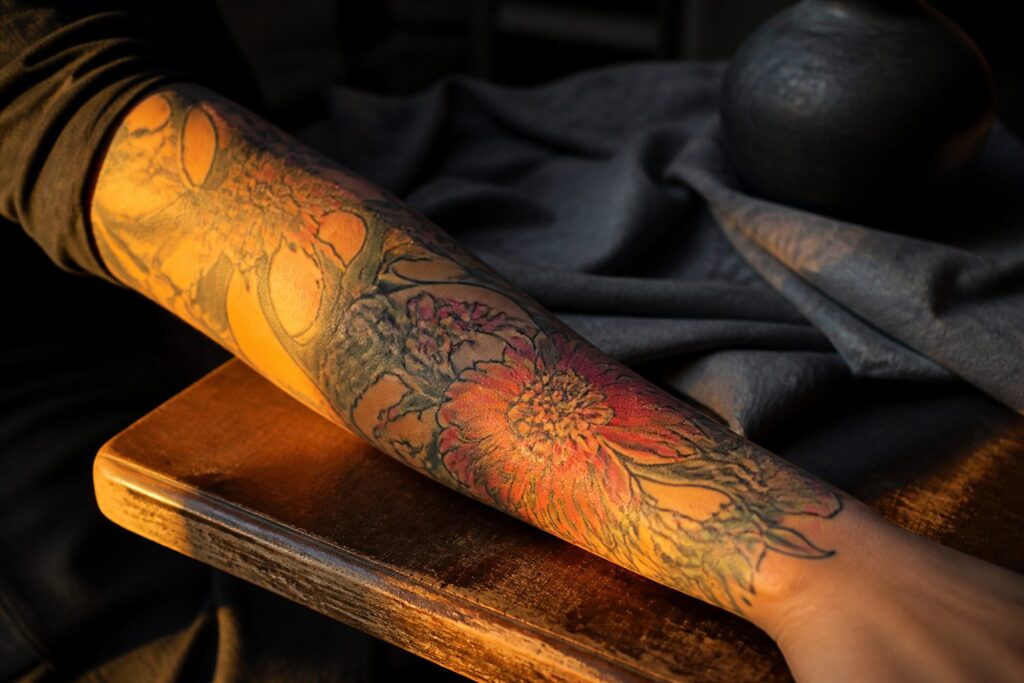
A realism piece packed with color and layered shading needs room to breathe, which is why thighs, back, shoulders, and upper arms carry those designs so much better than an ankle or the spot behind an ear.
Small areas smush the image, and the details that took hours to lay in simply will not read. I have watched a life-like portrait shrink-wrapped onto too tight a canvas, and the result looks muddy within months.
The same sizing logic flips for simpler work. A single flower or a clean line piece fits fine on a wrist or finger, though I would not bet on that finger tattoo holding its line past year three.
Blurring is the usual end there, since the skin on hands sheds and flexes far more than the flat planes of a shoulder blade.
Your build shapes this too. Small arms can make a full, detailed piece feel crowded, while side panels or thighs offer the same artist more uninterrupted square footage.
When I am unsure about scale, I tape a printed outline to the spot and live with it for a few days.
If the shape fights the curve of the muscle or vanishes when I move, the design goes back to the resize stage before I ever sit in the chair.


[TOP QUALITY] Soaked in Allergen-Free Ink brow mapping tool to leave thin but well-seen marks on the skin. One eyebrow threading thread can leave a mark for up to 10 Lines! A built-in cutter lets you get the correct string length quickly and easily.

3. Plan Around Your Existing Work
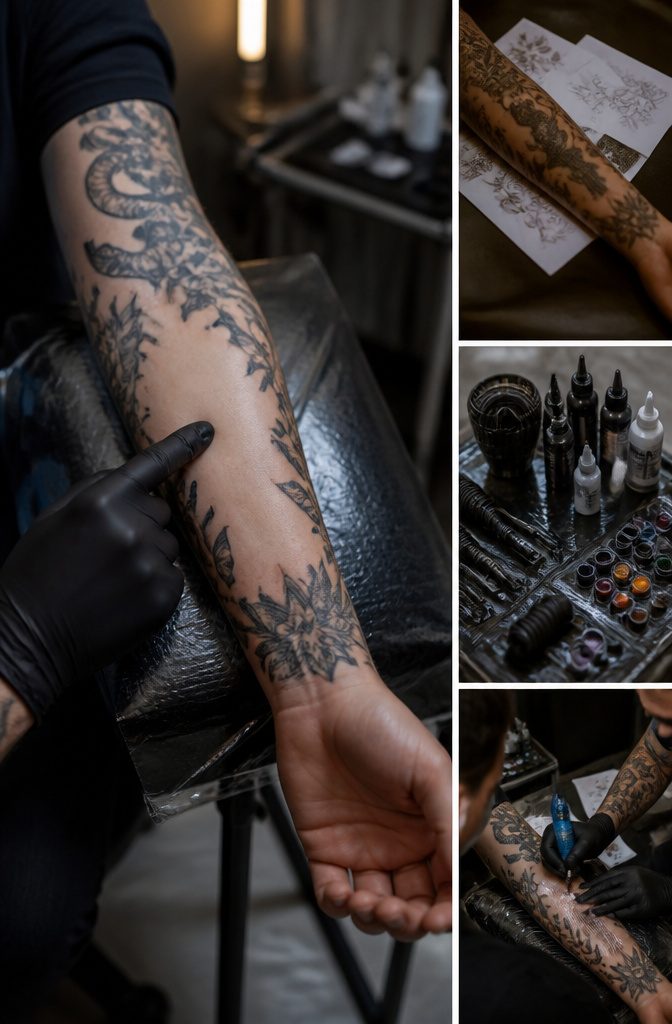
A full sleeve lives or dies on the gaps.
I’ve watched an artist freeze mid-consultation, tracing a client’s existing forearm work with a gloved finger, then point to an elbow ditch that sat like a blank island, breaking the flow entirely.
The piece had been planned one session at a time; now the whole composition would need reworking, not filling.
Your artist sees the shape before you do.
During my last session, mine pulled the mirror down so I could view my back piece from the side, showing how a new shoulder addition would read against the Japanese wave already curling toward my spine.
He caught a clash in movement, two flows fighting each other, that I hadn’t noticed in the flat stencil.
We rotated the new design 15 degrees. Problem gone.
Balance does not mean symmetry. A dense blackwork piece on your left ribs asks for breathing room on the right, not a mirror image.
Think about whether this tattoo is a chapter or the whole book. If it’s a chapter, leave margin for what follows; if it’s the whole book, own the space completely.

🎃[18 Sheets Long Lasting Full Arm Temporary Tattoos] There Are 8 Large Sheets Fake Sleeve Tattoos For Women Girls Kids Teens Children 18.8"x6.6" And 10 Sheets Half Arm Temporary Tattoos For Adults 7.4"x3.7", You Can See Watercolor Rose Peony Flower Fox Wolf Lion Tiger Colorful Peocock Compass Skull Skeleton Bulk Designs In It.

4. Know Your Pain Tolerance
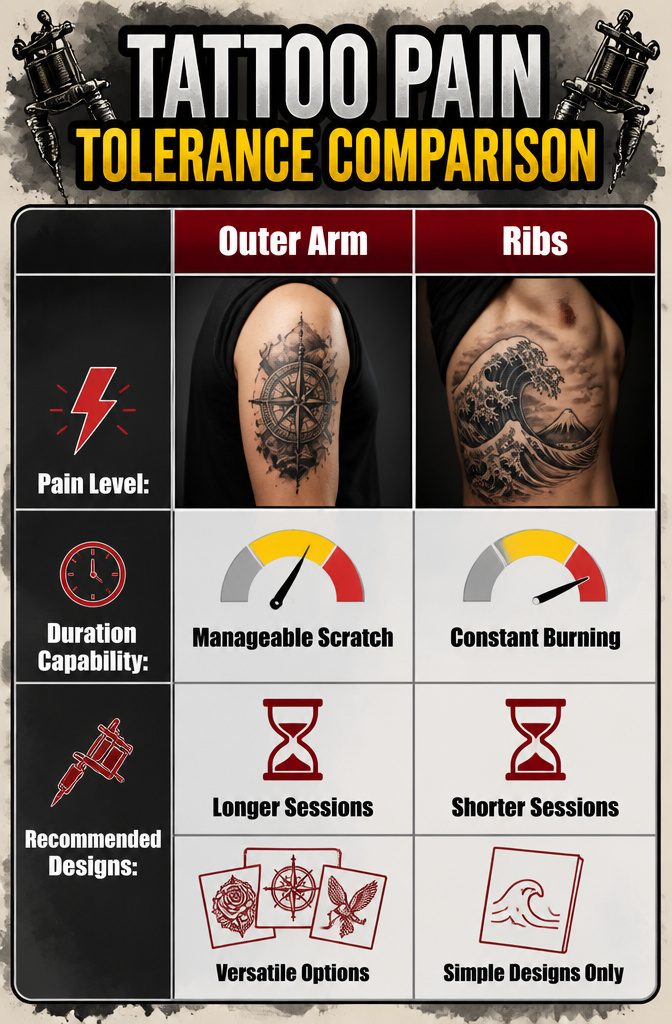
Pain tolerance is not abstract once the needle starts moving. The outer arm, for most people, registers as a manageable scratch, steady enough that you can talk through it or zone out to a podcast.
The ribs are different: a constant burning that sharpens on every inhale, and sessions there tend to run long because the artist has to stretch and re-stretch the skin.
I have watched people tap out on rib pieces that looked simple on paper. The sternum produces a sweat-through-the-first-hour sensation, part vibration against bone and part the psychological weight of knowing you cannot see the needle coming.
If you know pain drains you over time, the thigh, upper arm, or back buys you more hours in the chair before your body overrides your will. These areas carry more muscle and fewer nerve endings clustered at the surface.
Ribs, ankle, or wrist remain options if the design demands them or if you simply do not flinch easily, but budget your stamina honestly. A realism piece with extensive shading and detail will not finish in one quick pass.
Speaking with your artist beforehand about pacing, breaks, and whether they recommend splitting the work across sessions is not weakness; it is how you keep the final tattoo from turning into a battle of endurance that shows in shaky linework.

Tin metal, sturdy, waterproof, and long-lasting for indoor & outdoor use.

Tin metal, sturdy, waterproof, and long-lasting for indoor & outdoor use.
5. Bring the Artist In Early

A stencil pressed to skin tells you almost nothing about how that design will live once the needle starts.
The fifth and final step of any real tattoo placement planner is bringing the artist in before the design is locked, not after.
I learned this the hard way with a geometric piece I had sketched for my outer forearm.
In my head the lines ran clean and parallel. The artist moved the stencil three times, watched how the muscle shifted when I rotated my wrist, and said the shape would distort into a trapezoid within six months.
She suggested the inner bicep instead, where the surface stays relatively stable and the geometry would hold.
That conversation is what separates a consultation from a booking. A good artist walks you through how your specific body moves, where the skin stretches most, which placements age faster based on sun exposure and friction.
They are not validating your Pinterest board. They are telling you where the design you want will actually survive.
Bring references, but hold them loosely. The placement that respects the work matters more than the placement you imagined first.

MULTIPURPOSE SET: Package includes 3 white marking pens designed specifically for eyebrow tattoo, microblading, and cosmetic marking applications

★ This DIY tattoo supply kit includes 1pc Tattoo Pen, 5pcs 3RL Tattoo Needles, 5pcs 5RL Tattoo Needles, 1pc Self-adhesive Bandage, 20pcs Tattoo Grommets, 14 Colors 5ml Tattoo Inks, 10pcs M Ink Cups with Base, 5pcs Table Mats, 1 Pair of L Glove, 2pcs Transfer Papers,1pc Tattoo Practice Skin. Perfect for beginners learning the craft or experienced artists seeking reliable backup tools.

Tattoo Machine Alignment Adjustment Tool for Spring Adjustment
What to Ask Before You Commit
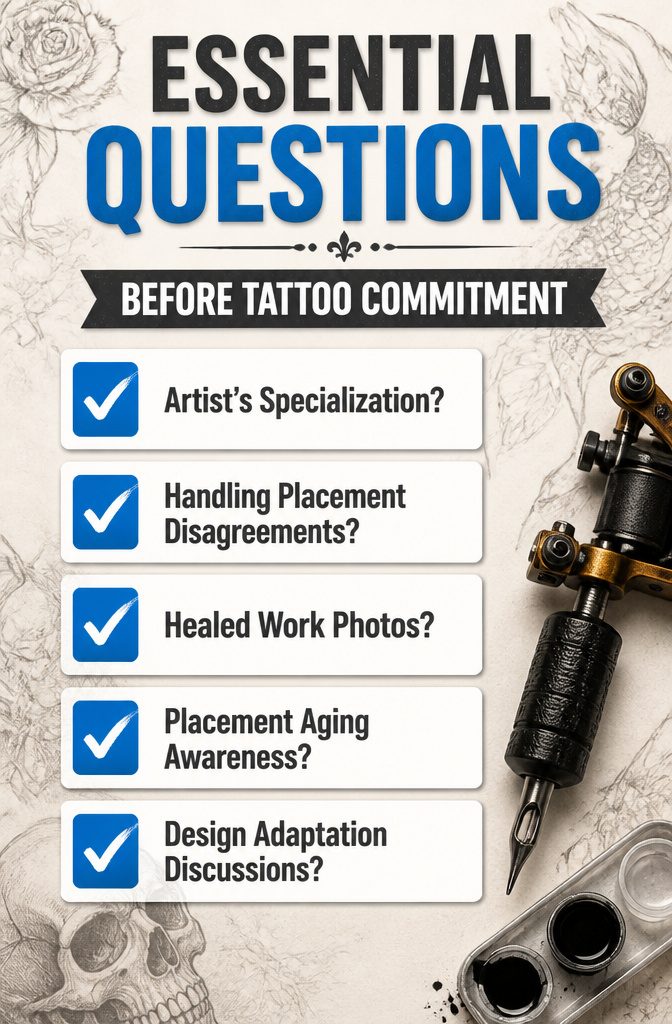
The consultation room is where a tattoo placement planner either earns its keep or falls apart. Not every artist wants to argue about where a design should live, and some will simply agree to whatever spot you name.
That is a red flag. The ones worth booking push back when your idea fights the anatomy.
Ask these questions before you leave a deposit:
- What do you actually specialize in? An artist who spends 90 percent of their time on black-and-gray realism may not be the one for your bright traditional sleeve. Portfolios show finished pieces, not the full range of what walks through the door.
- How do you handle it when a client wants placement you disagree with? The honest ones will describe a conversation, not a surrender. They should explain how a detailed portrait smushes on a wrist or behind the ear, and why large, flat areas like the thigh, back, shoulder, or upper arm let the work breathe.
- Do you have photos of healed work in the exact spot I want? Fresh ink looks nothing like settled skin. An artist with five-year-healed photos of rib pieces or inner bicep work is showing you they understand how placement ages, not just how it photographs on day one.
If they pause or hedge on any of these, keep looking.

Warm Tips: The tattoo transfer paper need to work with transfer medias.You will need to purchase the stencil ointment separately. Apply the design made on the master paper. Please pay attention to press the back side of the pattern to the skin for at least 3 seconds

Precision Transfers & Long Lasting: Tattoo stencil paper delivers vibrant, high-definition transfers even for intricate designs. Creates crisp, dark lines that transfer cleanly to skin (clearly on different skin tones) which are easy to follow during tattooing. The carbon layer made from high-quality dyes ensures sharp outlines without smudging or fading and maintains crisp lines visibility throughout long tattoo sessions, so you can focus on creating art instead of re-drawing lines
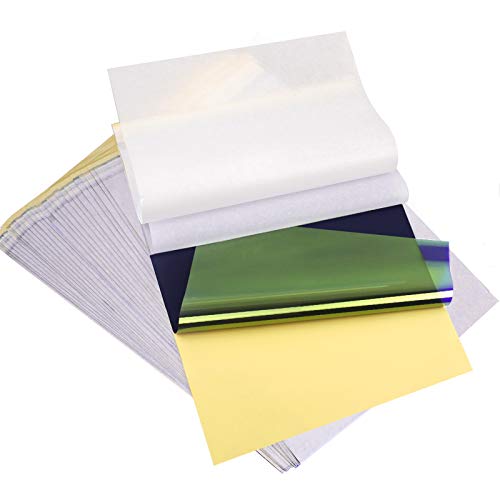
ADVANCED MATERIAL: Tattoo transfer paper is made with the high quality dyes and stencil paper. Transfer marks are very clear, clean and smooth. Tattoo transfer paper kit come with 35 sheets. Great for tattooing, trace and transfer images onto the body.<br>
Frequently Asked Questions
How do I choose the right placement for my tattoo?
Decide your daily visibility first, then match the design size to the available skin real estate, account for existing tattoos, honestly assess your pain tolerance, and bring the artist in before locking the design.
These five steps, in that order, keep the decision grounded in how the work will actually heal and age rather than how it looks in a sketch.
What is the 1/3 rule tattoo?
This concept is not covered in the five-step planner outlined above.
Is a $50 tip good for a $300 tattoo?
This falls outside the scope of placement planning.
Is there an app for tattoo placement?
Yes, apps exist.
One developer built a 3D tattoo placement app after finding no suitable option for sizing and positioning during personal planning. Others use Procreate on iPad for similar purposes.
Is $200 an hour a lot for a tattoo artist?
This is unrelated to the placement planning process described above.